Tuesday, March 22, 2011

WEEKEND March 2011- Still working on replacing the soft deck

Here are some updates on my replacing the soft deck.  Easy work but 44' takes a long time...  (Still love it!)

After applying my first coat of West System 407 Filler on top after replacing all wood and glassing in the new deck.  Good news is because I am putting down NuTeak I don't have to have a perfect finish for the deck since it will be completely covered.  But it still has to be level.

After I replaced the wood, then glassed the top skins back in place.

Tuesday, November 23, 2010

WEEKEND Dec 23rd 2010 to New Years Day - Replacing the soft deck

The work on cleaning the hull has now included over 2 1/2 month efforts from 2-3 people working weekends. It looks GREAT!

After reconsideration of the next projects, it is clear I need to move my next efforts to drying in the deck.  This will involve getting the deck and hull prepped for Sterling primer and top coats.  But before the sanding on the deck and upper hull, I need to get serious about repairing the soft spots in different area's of the deck. Here are some pictures of my progress:

First with a black marker I marked out the lines to cut.  I used a small DeWalt grinder with a 4 1/2" cut blade on it.  It worked well and allowed me to not cut though the entire deck.  With the top skin of the deck being 1/4" fiberglass, 1/2' wood in center, and 1/4" of fiberglass on bottom.  All I needed to do is cut the top layer of fiberglass, peel it back, clean out the bad wood in the middle that was wet because of the trapped moisture, replace the wood and fiberglass it in place, and finally put the top skin back on and fill the seams.


Some other area's of the deck...


All the wood is cut and ready to go in. So far every piece has been a perfect fit.


The woodwork is done.  Now the fiberglass top sections to be reinstalled and filled around the edges.


Sunday, October 24, 2010

WEEKEND: Oct 24th 2010 - - Prepping Interior Hull for New Interior

The weather has been nice a cool in Orlando since last week.  So to tack advantage of he changing seasons, I decided to work on the interior, an area I have be dreading because I knew it would begin with a heck of a lot of grinding work.  I was right. As of today I am on day 4 and only 60% done!

I normally would skip this boring part but for your future project boat people it's important you see the good and the itchy side of things...

Tops:

1 - Besides the normal safety gear, some thick sweat pants and sweat shirts with a couple of tee-shirts underneath go a long way to keep you from itching for 12-hours.  I also recommend something to cover your head too...

2 - Ear plugs.  It's was nice not to hear hours of loud grinding noise day after day.  With ear plugs and a powerful fan blowing on you, you can actually think about things besides asking yourself ever 2 minutes. "when am I going to be finished with this grinding darn work"... (PS The answer is usually never!)

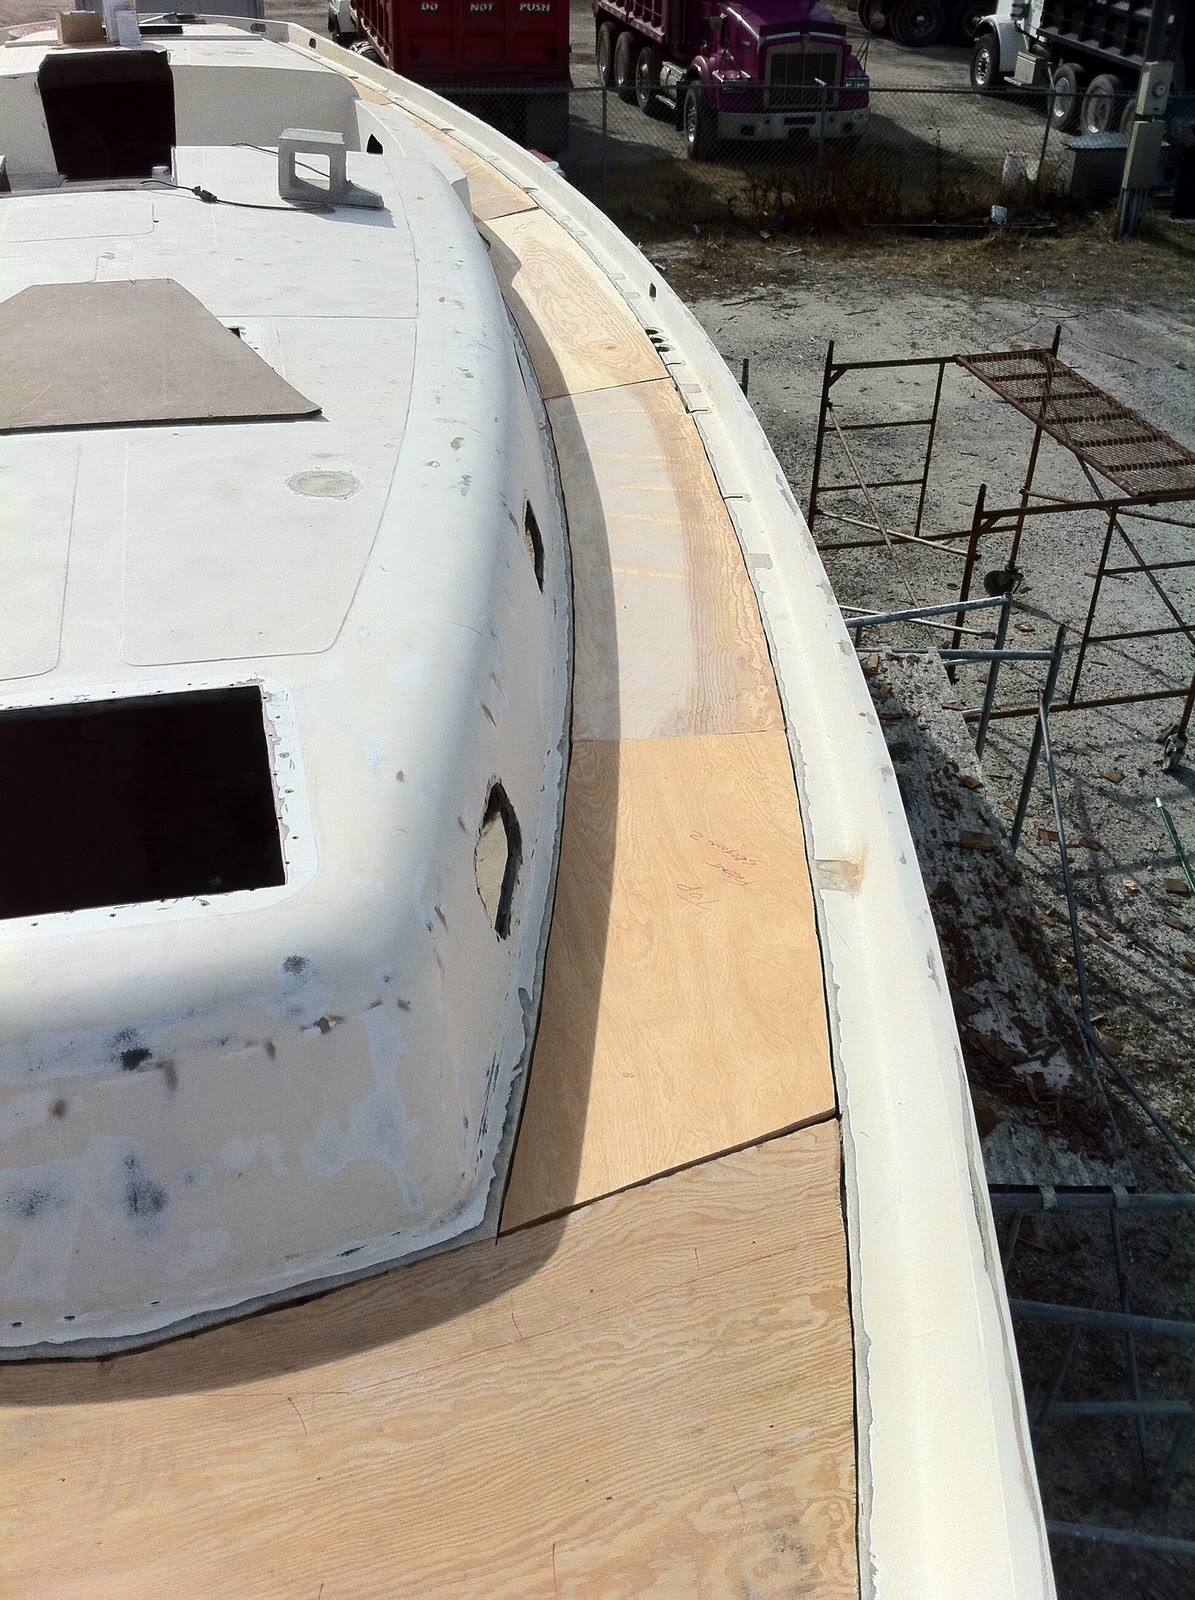
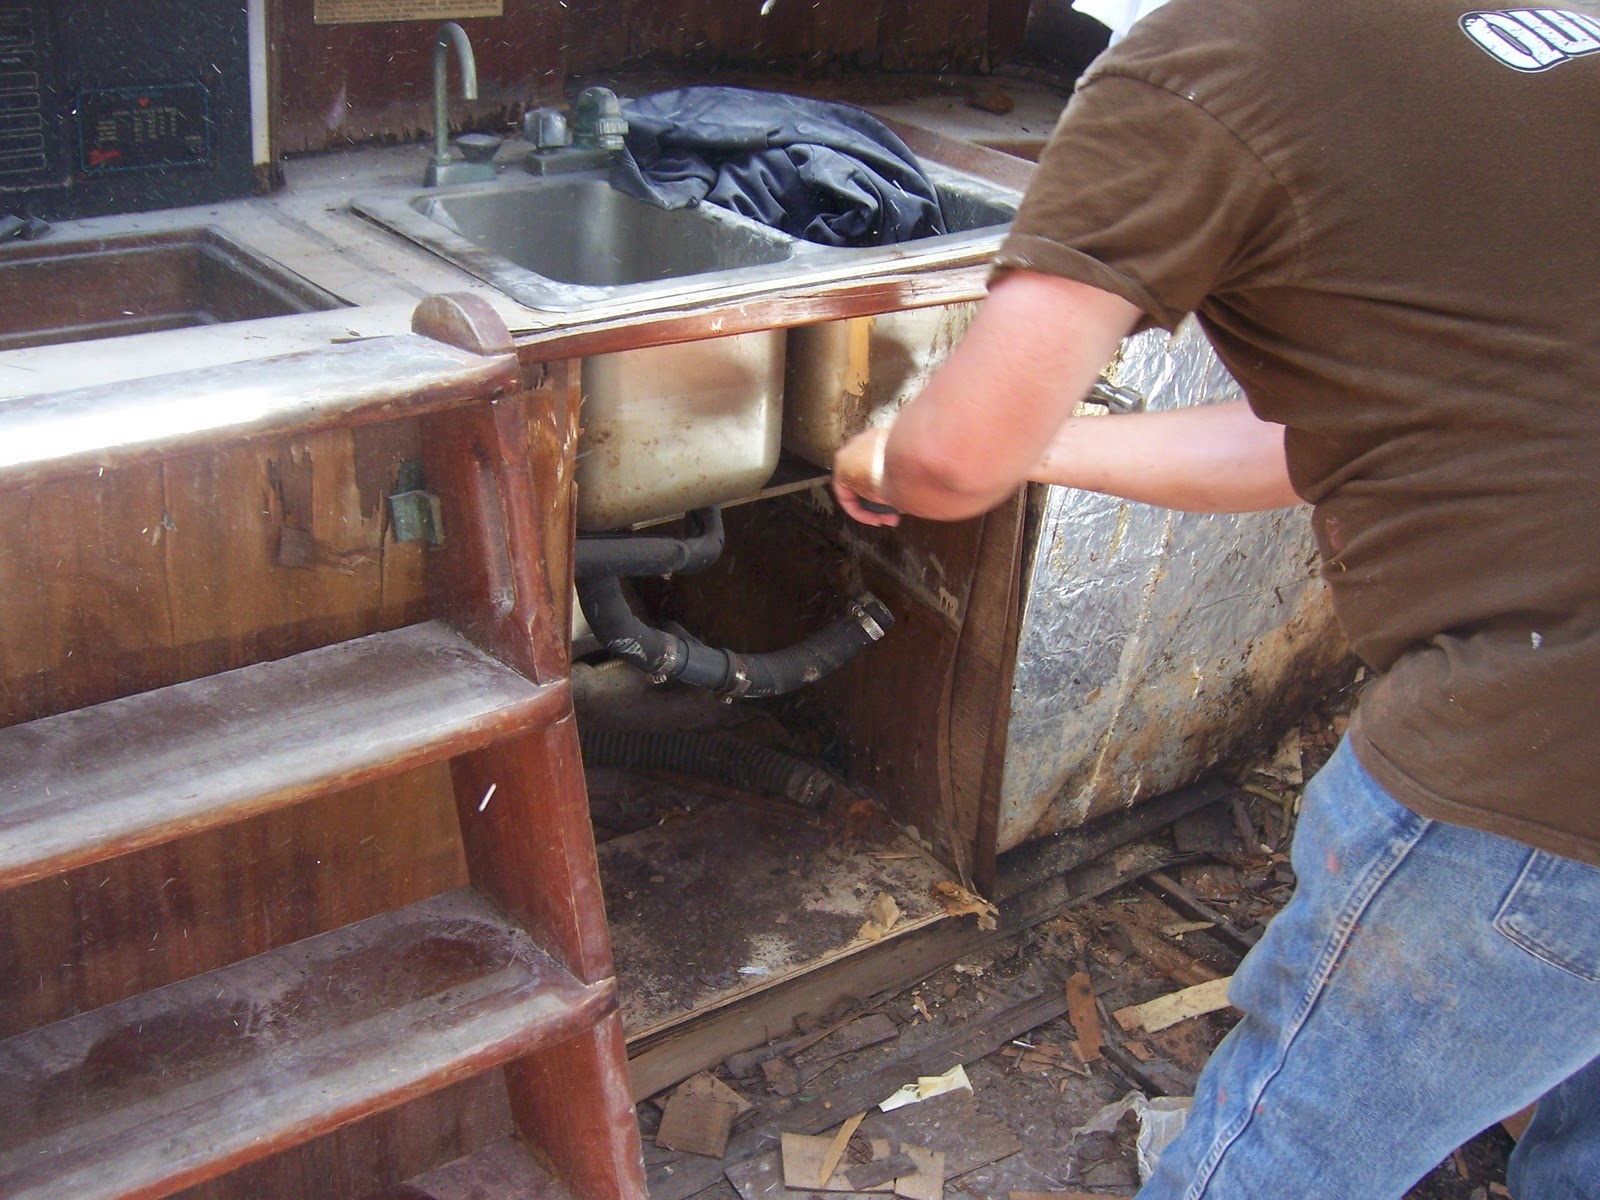
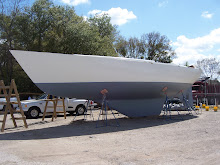
Here are some pictures from this weekend and special thanks for the help from my son Kyle Saturday and a local guy I met named Daryl.


Ok. Lets do so sweeping and clean up the 1" layered dusk covering everything And that is just an hours worth.


I'm so tired I can climb down the latter after a 9 hr day.  I need a COLD SHOWER BIG TIME!

We made a vow to never mentioned the word "itch" again after today...


OK HERE ARE SOME PICTURES AFTER 10 WEEKENDS OF GRINDING


I learned one thing, "your never done with grinding"...  Thats a fact of life in restoring boats.

Saturday, October 23, 2010

WEEKEND 31-40: Priming the Hull

It was time to put a couple coats of primer on the hull and deck.  I must admit it sure did look great until I ending up sanding both those coats off.


Time to put her to bed for a while.  I bought a new house and ending up taking  a year off only working on her 3 or 4 times.  Shame on me!

The next blog is all current activities beginning with grinding the hull interior to take advantage of the cool weather for the next four months or so. My goals are to get the flooring and bulkhead walls up before the summer heat of 2011.  


WEEKEND 26-30 : Deck Repairs

Because of the hot summer heat, I decided to begin working on several deck repairs. Especially the large deck hole where the chainplate came through the deck due to the high winds of the hurricane.


If you started at the beginning of my project, you know the rule.  The small holes get a lot larger in order to repair them...


After bracing the deck hole with plywood from underneath wrapped in plastic so the fiberglass/resin would stick to it, I laid a couple layers of fiberglass down first, then cut a piece of 1/2" marine plywood to fit the hole. Then another 4 layers of fiberglass on time of the marine plywood, then a little filler and fairing work and she was solid one again.

When we removed the deck hardware. We also removed he teak toe rail that had the 120+ 8' s/s bolds attaching it to the rail.  When this was removed, it was there was a gap in the middle of the base rail that I am sure leaked.  So I took the time to seal the rail with thicken fiberglass filler, applied clamps every 6' and worked my way around the boat.  


Here you can see I had some lots of screw holes I had to fill on the cabin-sole.


WEEKEND 21-25: Stripping Out the Rest of the Interior

There were a lot of imperfections on the deck caused by fling objects during Hurricane Katrina.


FYI: Gregory didn't hurt himself.  He simply had a minor medical procedure so he needed to cover head with the bandage...  He is a fantastic helper!


Looking forward.

Looking aft.

Because of the hot summers, it was time to work on deck projects.  Thank God!